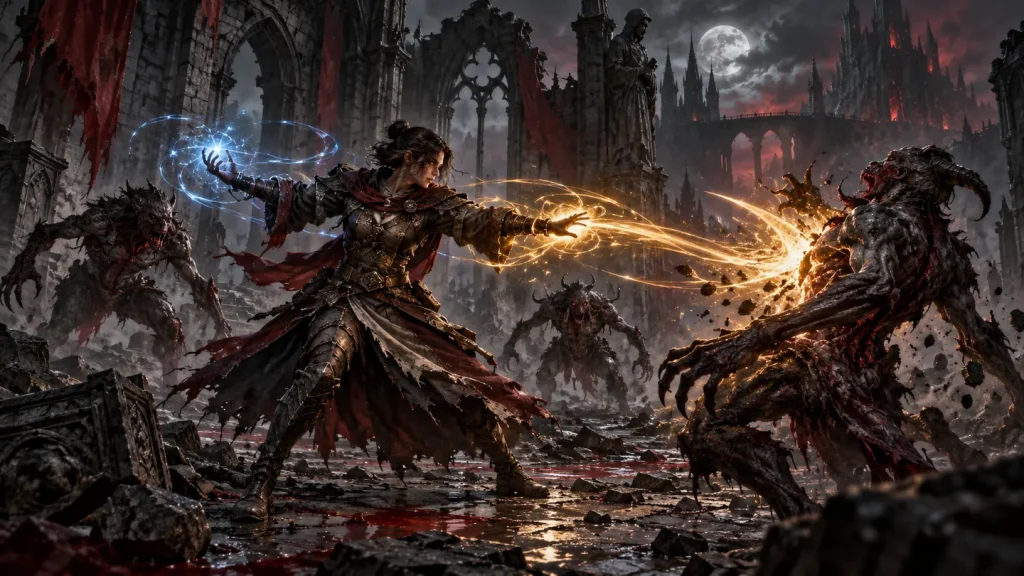
Good Diablo 4 cooldown management means having an appropriate answer when an encounter becomes dangerous. It does not mean pressing every available skill immediately. For players who enter fights confidently but run out of options halfway through, the useful starting point is a simple question: which button will let you survive the next threat?
Separate damage opportunities from emergency responses before changing equipment. A modest rotation adjustment can reveal whether the problem is timing, resource availability, positioning, or a genuine gap in the skill setup.
Give each cooldown a primary job
Open your skill descriptions and classify each equipped cooldown as an opener, damage amplifier, defensive response, movement tool, or recovery tool. Some skills serve several purposes; identify which purpose matters most in your current encounter. A movement skill used to enter combat is no longer available as an escape until it recovers.
Write a short priority beside each important button: use during a safe damage window, use before a predictable hit, or reserve for an emergency. Check current tooltips for duration, charges, conditions, and interactions. Do not assume that an older build guide describes the version you are playing.
Build a rotation with an exit
- Approach from a position with visible space behind you.
- Start with attacks that do not consume your only defensive answer.
- Commit a major offensive cooldown when the target is reachable and the floor is safe.
- Watch for the next dangerous animation before spending another utility skill.
- Disengage early if your remaining answer cannot handle the developing threat.
This is a decision order, not a universal button sequence. A skill that protects you while enabling damage may belong early in one encounter and late in another. The point is to know what remains after the opening sequence.
Reserve protection for a named threat
Holding a cooldown indefinitely wastes opportunities, but spending it without a reason creates avoidable exposure. Name the event that justifies using it: a telegraphed strike, an unavoidable period of pressure, or an escape route that is about to close. If that event never appears, reassess rather than hoarding the skill forever.
Also distinguish prevention from recovery. A protection skill used before danger may solve a problem that healing afterward cannot. Conversely, spending protection while nothing threatens you can leave a gap later. Read the actual effect; not every defensive skill removes control effects or permits movement through enemies.
Scenario: the opener leaves you trapped
Imagine entering a narrow room with a durable enemy and several ranged attackers. You use your movement skill to reach the group, activate every offensive cooldown, and then notice a dangerous ground effect covering your retreat. Your damage was available, but your exit was not.
On the next attempt, stop near the entrance and draw the first attackers toward open ground. Keep the movement skill unused while you establish a safe angle. Spend the offensive cooldown only after you can attack without crossing the hazard. If the floor closes again, use the reserved escape to reach the space you identified before the pull.
Test timing before buying more cooldown reduction
Run a controlled practice encounter at a difficulty where mistakes are recoverable. Note which skill you lacked at the first dangerous moment and which cooldowns were still unused. Repeat after changing only the order of activation. Compare how often you can remain engaged safely, not just the biggest damage number.
If your plan repeatedly requires a skill before it returns, inspect current cooldown modifiers and skill interactions. Avoid assuming a displayed reduction guarantees uninterrupted protection. Resource shortages and missed activation conditions can interrupt the sequence even when the cooldown itself is ready. Use a controlled skill testing plan before committing to a larger rebuild.
Common mistakes that hide the real issue
Do not overlap every defensive effect automatically, mistake a ready icon for an active buff, or chase an enemy while the next safe window is still developing. Another frequent error is practicing only on stationary targets: real encounters demand movement, target selection, and interrupted rotations. Pair cooldown practice with positioning and exit planning.
Before the next pull
- Identify the cooldown reserved for the next dangerous event.
- Confirm an exit that does not require an unavailable skill.
- Check resources as well as cooldown icons.
- Choose the safe window for your strongest commitment.
- Afterward, record the first missing answer rather than blaming the entire build.
Continue reading
- Diablo 4 Movement and Positioning: Leave Room to Survive
- Diablo IV Leveling: Build a Reliable Skill and Resource Loop
- Diablo 4 Skill Respec Testing: Change One Variable
- Diablo 4 Death Recovery: Diagnose the First Failed Defense
Explore the complete Diablo IV Guides collection.
Sources and editorial notes
For game access, feature availability and version-specific changes, consult the official Diablo IV website and official Diablo IV patch notes. This article provides general planning advice, not a current-season build ranking, a personal gameplay test report or a guarantee of rewards. Check the current in-game interface and tooltips before making version-sensitive decisions.
Cover image: a reused AI-generated editorial illustration from LootGo’s existing collection, not an official gameplay screenshot or an exact depiction of the systems discussed.